
Implementing a Makerspace in Your School: A Step-by-Step Guide


Understanding the Concept of a Makerspace
A makerspace is a collaborative workspace inside a school, library, or separate public/private facility that provides hands-on, creative ways to encourage students to design, experiment, build, and invent. This space is often equipped with a variety of tools, such as 3D printers, laser cutters, CNC machines, and even simple hand tools. By fostering a culture of innovation and problem-solving, makerspaces prepare students for the demands of the 21st-century workforce.

Assessing the Needs of Your School
Before you begin implementing a makerspace, it’s crucial to assess the specific needs and goals of your school. Consider the types of projects your students might be interested in and the skills you aim to develop. This assessment will guide your decision-making process regarding the tools and resources required for your makerspace.
Identifying Space and Resources
The next step is to identify a suitable location within your school. This space should be easily accessible to students and teachers and large enough to accommodate different types of equipment and activities. Consider repurposing an underused room or section of the library. In addition to space, evaluate your available resources, including funding, potential partnerships, and staff expertise.

Designing Your Makerspace
Once you have a clear understanding of your needs and resources, start designing your makerspace. Focus on creating a flexible environment that can adapt to various activities and group sizes. Incorporate workstations for different types of projects, such as woodworking, electronics, and digital design. Ensure there is ample storage for tools and materials, as well as safety equipment like goggles and gloves.
Purchasing Equipment and Supplies
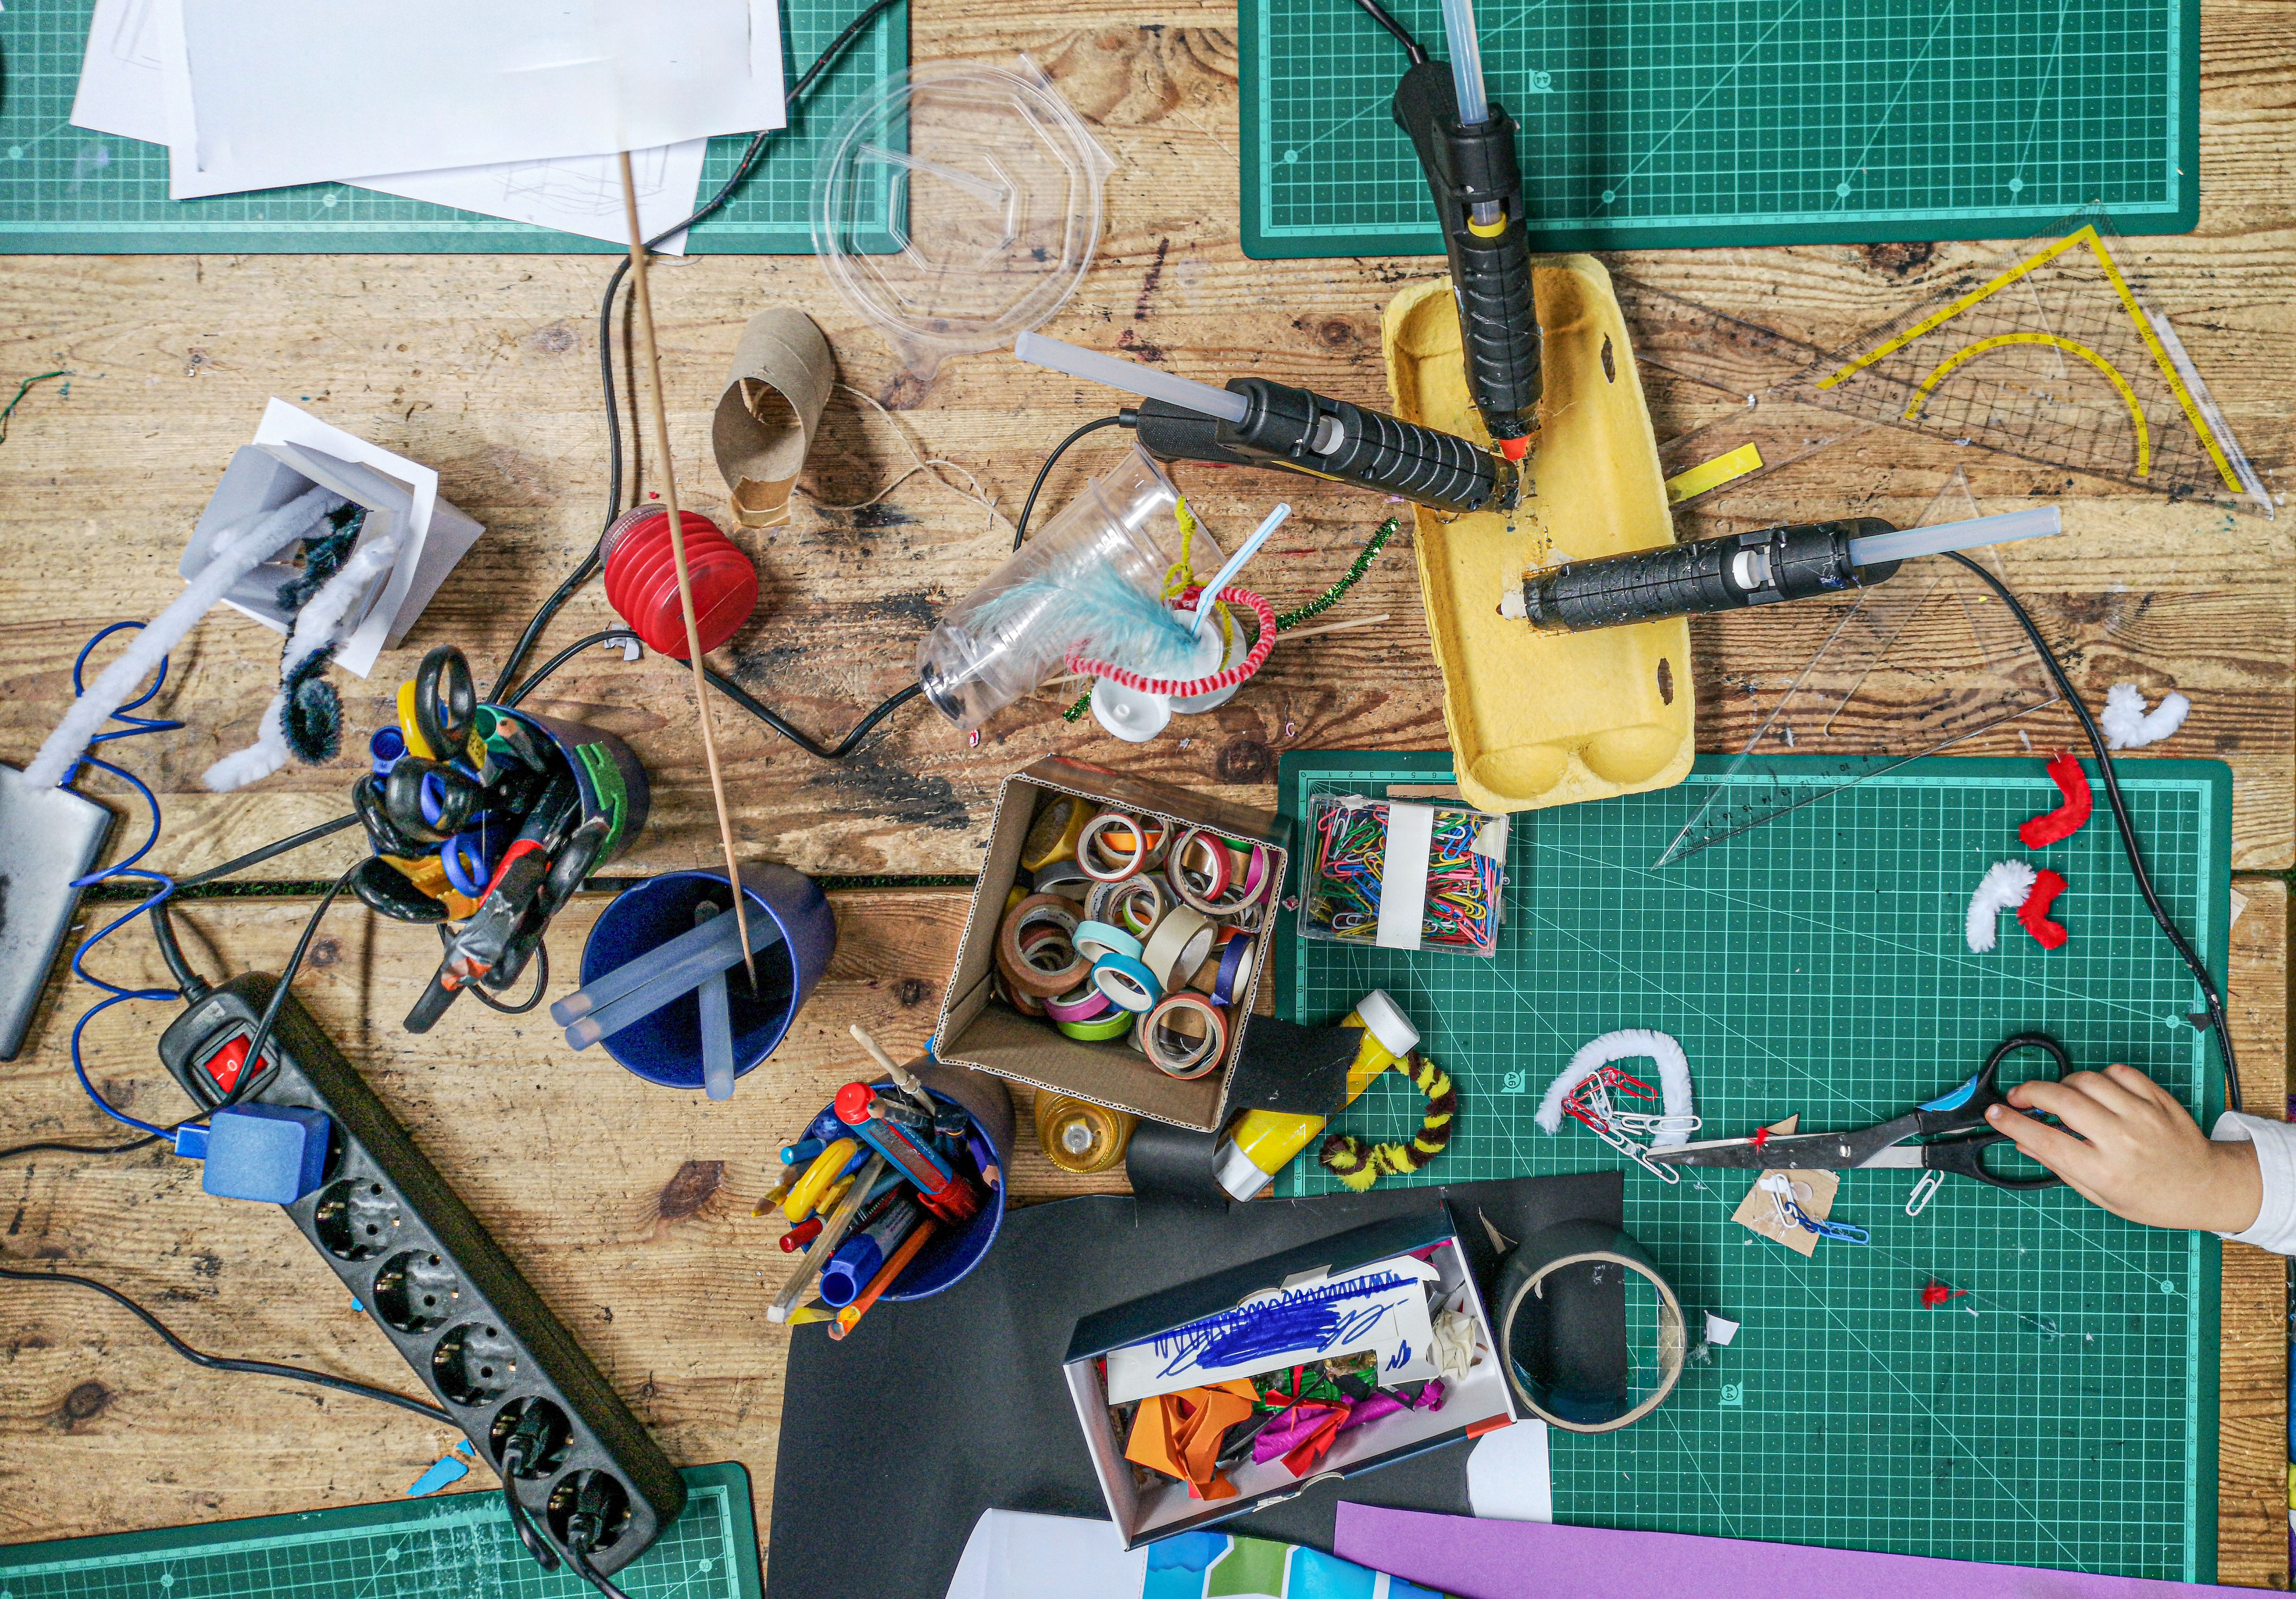
With your design in place, proceed with purchasing equipment and supplies. Prioritize essential tools that align with your educational goals and budget. Remember that not all makerspaces need high-tech gadgets; even simple items like craft supplies, recycled materials, and basic hand tools can foster creativity and innovation.
Integrating Curriculum and Training
To maximize the effectiveness of your makerspace, integrate it into your existing curriculum. Collaborate with teachers to develop projects that complement their subject areas and learning objectives. Provide professional development opportunities for staff to ensure they are comfortable using the makerspace equipment and facilitating student projects.
Encouraging Student Engagement
Promote student engagement by encouraging them to explore their interests within the makerspace. Allow them to work on projects that are meaningful to them, fostering a sense of ownership and pride in their work. Consider implementing a mentorship program where older students guide younger ones through the design process.

Evaluating and Evolving Your Makerspace
Once your makerspace is up and running, regularly evaluate its impact on student learning and engagement. Solicit feedback from students, teachers, and parents to identify areas for improvement. Stay informed about new technologies and trends in maker education to keep your space relevant and inspiring.
By following these steps, you can successfully implement a makerspace in your school that empowers students to become innovative thinkers and problem solvers. Embrace the journey of creating a dynamic learning environment that sparks curiosity and creativity in every student.